Understanding On-Delay and Off-Delay Timers: Key Differences, Working, and Applications
Published: Author: Conor
Choosing the right timer relay can make your machine safer, smoother, and more efficient. Two of the most widely used timing functions in automation are On-Delay and Off-Delay timers. While they look similar from the outside, they operate very differently.
This guide explains how each timer works, where to use them, and how to pick the correct one for safe and reliable operation.
What Is an On-Delay Timer?
An on-delay timer switches its output after a preset time has elapsed. When power is applied, the timer begins counting, and once the delay period is complete, its internal contacts change state to activate the connected device. This makes On-Delay timers ideal for applications that require staggered or controlled startup.
In practice, they help prevent motors from starting abruptly, limit inrush current, and ensure equipment in a production line powers up in the correct sequence. Most On-Delay timers offer both NO and NC contact configurations, allowing flexible integration into various timing and sequencing applications.
What Is an Off-Delay Timer?
An Off-Delay timer keeps its output energized for a preset period after the control signal is removed. While the input is active, the output stays on. Once the input turns off, the timer begins counting down; When the set delay expires, the contacts change state and the connected device powers down. This makes Off-Delay timers useful in applications that need a controlled shutdown instead of an immediate stop.
Common examples include allowing cooling fans to run after a motor stops, keeping safety or stairwell lighting on briefly, or ensuring compressors and HVAC equipment complete their cycles properly. With available NO/NC contact options, Off-Delay timers are widely used wherever smooth, delayed stopping is required.
How On-Delay and Off-Delay Timers Work
Now that you understand the basic definitions, let’s look at how On-Delay and Off-Delay timers work step-by-step.
On Delay Timer Working
Step 1) Power is applied: When you press the start button or turn on the switch, the timer gets power. The connected device does not turn on immediately.
Step 2) Timer counts: The timer starts counting the preset delay time. During this time, the output stays off.
Step 3) Switch changes: After the delay ends, the timer changes its internal switch to allow electricity to flow.
Step 4) Output works: The connected device, such as a motor, conveyor, or light, turns on.
Most timer relays share similar specifications; the real difference lies in how the timing function works.
Applications of On-Delay Timers
On-delay timers are used in industries and machines. Also, they help you start devices safely and in the correct order. By delaying the start, they prevent sudden power surges and confirm smooth operation.
1. Motor Control
Motors draw high current at startup. A delay prevents them from starting all at once, reducing electrical stress and avoiding overloads.
2. Conveyor and Machine Sequencing
In manufacturing lines, equipment must start in order. On-delay timers ensure one machine finishes before the next begins.
3. Automation & PLC Systems
On-delay timers help create delays in processes, interlocks, and safety circuits.
4. Star–Delta Starters
Used to delay switching from star mode to delta mode in motor starting systems.
Applications of Off-Delay Timers
On the other hand, off-delay timers are helpful when you want a device to keep running shortly after turning off. They improve safety and protect your machines.
1. Cooling Fans
When motors stop, they remain hot. Off-delay timers keep fans running to remove heat safely.
2. Safety Lighting
Emergency or stairwell lights stay on briefly after the switch is turned off.
3. Compressors and Pumps
Prevent pressure shock and allow pressure equalization before shutdown.
4. HVAC Systems
Keeps blowers running briefly to clear ducts and stabilize temperatures.
On-Delay vs Off-Delay Timers: Key Differences
When you understand the key differences between On-Delay and Off-Delay timers. Then it helps you choose the right timer for your machine or system.
Feature
On-Delay Timer
Off-Delay Timer
Operation
Delay ON
Delay OFF
Power Start
Output OFF
Output ON
Timing Starts
On power applied
On power removed
Output Behavior
Turns ON after a delay
Turns OFF after a delay
Applications
Motors, automation
Fans, lights, HVAC
Purpose
Prevent surge
Smooth shutdown
Example
Conveyor delay
Fan delay
Contact Type
NO / NC
NO / NC
Voltage Range
24V DC / 230V AC
24V DC / 230V AC
Time Range
0.1s – 10min
0.1s – 10min
Types of Timer Relays
Timer relays come in several types, each designed for different environments and control requirements.
Electronic timer relays are the most widely used in modern automation because they offer high accuracy, easy adjustment, and multiple timing modes. You’ll often find them in industrial panels, conveyor systems, packaging machines, and HVAC controllers where precise timing is essential.
Pneumatic timers, on the other hand, use air flow to generate a delay and do not rely on electronics. Their simple mechanical design makes them highly reliable in rugged environments such as welding shops, heavy machinery lines, or areas with electrical interference. These timers are especially common in older equipment, stamping presses, and mechanical interlock systems, where durability matters more than precision.
Solid-state timers operate without moving parts, giving them exceptional lifespan and timing accuracy. Because they are resistant to vibration and wear, they are frequently used in semiconductor equipment, testing machinery, laboratory automation, and high-speed manufacturing processes where even small timing errors can cause issues.
Multi-function timers combine several timing modes—such as on-delay, off-delay, interval, and cyclic functions—into one device. Their flexibility makes them ideal for OEMs, automation engineers, and panel builders who need one versatile timer for many applications. They are commonly found in automated assembly lines, lighting control systems, pumps, and compressors, where different timing behaviors may be required for different steps of a process.
How to Choose the Right Timer
Choosing the right timer depends on how you want the device to behave in your system. Consider the operation mode, timing range, contact configuration, and environmental conditions.
i) Determine Operation Type: First of all, you think about how you want your device to work. If you want a delay before turning ON. Then you need an On-Delay timer. On the other hand, if you want a delay before turning OFF. Then you choose an Off-Delay timer.
ii) Check Timing Range: Next, you check the timing range. Then you decide whether you need seconds, minutes, or hours for the delay.
iii) Select Contact Type: Then, you select the proper contact type, for example, SPDT or DPDT, to match your circuit.
iv) Consider Environment: At last, you think about your environment. If your machine works in harsh conditions. Then you use an industrial-grade timer for safety.
Common Problems & Troubleshooting
Troubleshooting timer relays becomes much easier when you understand how common faults appear in real applications. Below are typical problems, their causes, and short case studies showing how technicians solve them in the field.
i) Timer Does Not Count
If the timer doesn’t begin timing, the issue is usually related to power supply or configuration. Common causes include incorrect input voltage, reversed polarity on DC models, or a preset time accidentally set to zero.
Example:
A worker at an automotive plant reported that a conveyor delay timer wasn’t activating. The technician discovered the panel had recently been rewired, and the 24V DC timer was mistakenly connected to a 12V DC supply. Once the correct voltage was applied, the timer began counting normally.
ii) Output Never Turns On/Off
When the timer completes its delay but the output doesn’t change, the issue is often wiring-related. Using the wrong contact (NO instead of NC) or a loose terminal can prevent the output from switching.
Example:
In a food packaging machine, an off-delay timer was supposed to keep the sealing fan running for 10 seconds after shutdown. The fan turned off instantly instead. The technician found that the installer wired the load to the NC contact instead of the NO delay contact. After correcting the wiring, the fan operated with the proper delay.
iii) Delay Is Inaccurate
Timing inconsistencies can result from voltage fluctuations, poor power quality, or worn mechanical components (in pneumatic timers).
Example:
A factory using pneumatic timers on stamping equipment noticed that the delay varied during hot summer months. The issue was traced to changes in air viscosity inside the pneumatic timing chamber due to ambient heat. Switching to an electronic timer eliminated the drift and improved cycle repeatability.
iv) Timer Overheats
Overheating occurs when the load exceeds the contact rating, ventilation is blocked, or the timer is installed too close to heat-generating components.
Example:
A wastewater plant reported repeated timer failures in their pump control panel. Investigation showed the timers were mounted directly above a high-heat transformer with no airflow gap. The excessive temperature caused premature failure. Relocating the timers and adding ventilation slots reduced the heat level and solved the issue permanently.
Conclusion
Understanding the difference between On-Delay and Off-Delay timers helps you choose the right device for safe and predictable machine operation. On-delay timers delay the start of a process, while off-delay timers provide a controlled stop.
If you need reliable timing solutions for automation or industrial control, Oohmage provides high-quality timers designed for durability, accuracy, and easy installation.
FAQs
1. What timing range do I need?
Most applications work with 1–60 seconds, but cooling systems, pumps, or compressors may need 1–10 minutes. Always choose a timer that covers your maximum required delay with an adjustment room.
2. Can one timer perform both On-Delay and Off-Delay functions?
Yes. A multifunction timer can switch between multiple modes, including on-delay, off-delay, interval, and cyclic timing.
3. How do I wire an On-Delay or Off-Delay timer?
Wiring depends on the timer type and contact arrangement. In general: i.On-Delay: Power → Delay → Output turns ON ii.Off-Delay: Output ON → Power removed → Delay → Output OFF Always follow the manufacturer’s wiring diagram for NO/NC contact selections.
4. Does the timer require a separate control signal?
Some timers use the input power as the control trigger, while others require a dedicated control line. Electronic timers often have separate terminals labeled trigger, reset, or control input.
5. Do timers keep their settings after a power outage?
Electronic timers usually retain settings. Older or basic models may reset unless they have memory backup.
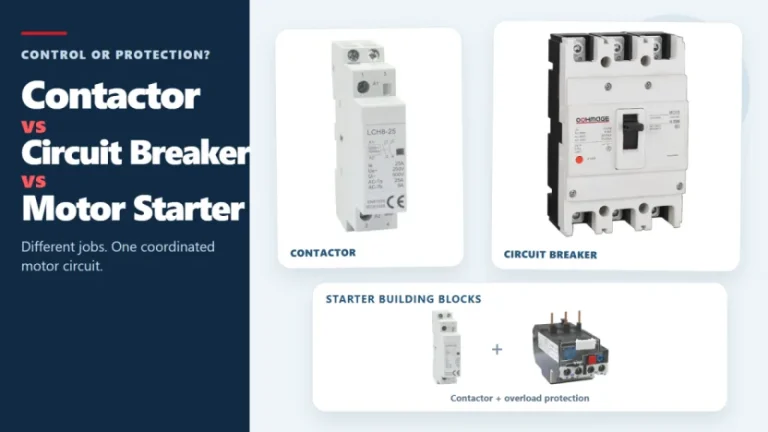
Figure 1. Contactors, circuit breakers, and motor starters solve different control and protection tasks. These three devices often appear in the same motor-control panel, but they solve different problems. A contactor handles frequent, remote, or automatic switching during normal operation. A circuit breaker interrupts abnormal current within its rated capability. A motor starter normally combines […]
The main types of circuit breakers used in low-voltage distribution include miniature circuit breakers (MCBs), molded case circuit breakers (MCCBs) and residual-current devices such as RCCBs and RCBOs. They are not interchangeable. MCBs and MCCBs are selected for overcurrent protection in different circuit roles, an RCCB provides residual-current protection without integral overcurrent protection, and an […]
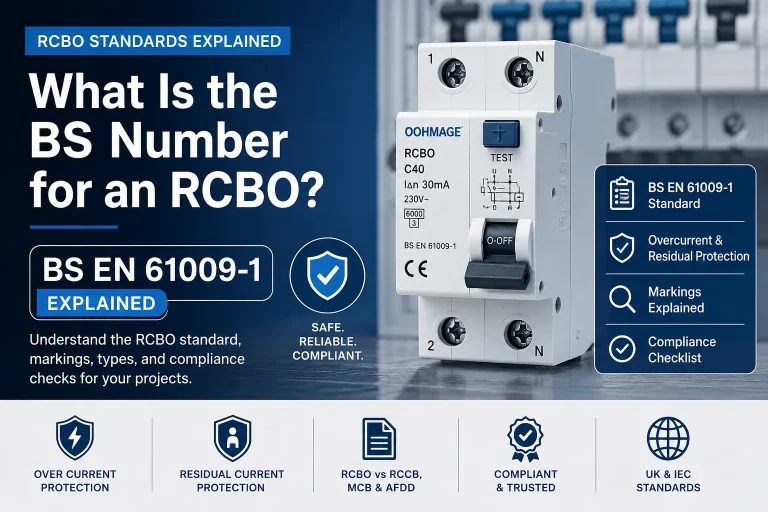
Introduction If you are searching for the RCBO BS number, the answer most commonly required in UK and IEC-based electrical procurement is BS EN 61009-1. This is the principal product standard associated with residual current circuit breakers with overcurrent protection used in residential, commercial, and similar installations. However, merely the BS number is not sufficient […]