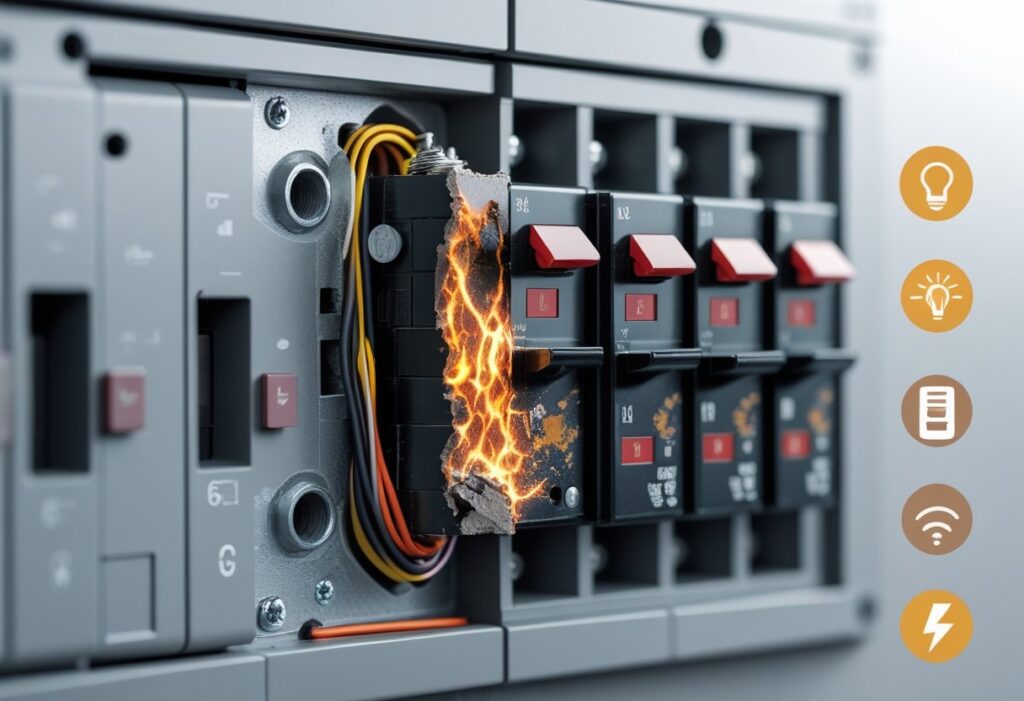
A circuit breaker protects your home from short circuits, overloads, and electrical fires. But if a breaker becomes weak or damaged, it may stop working without warning. That’s why learning how to test a circuit breaker is important—especially if lights flicker, outlets fail, or the breaker trips frequently.
This guide explains how to test a breaker (without power), what tools you need, and the warning signs of a faulty breaker. Hence, you can keep your devices protected every time.
Why Testing a Circuit Breaker Matters
When a breaker fails, the circuit is no longer protected. That can lead to over-heating wires, damaged appliances, and even electrical fires. Testing helps you:
Identify weak or worn-out breaker
Prevent overheating or fire risk
Troubleshoot outlets and lighting issues
Keep your electrical panel safe and reliable
Safety Precautions Before Testing a Breaker
Electricity is dangerous—even when you think the power is off. Let us take these basic safety rulesbefore we get started.
Turn off the main power: Switch off the main breaker in the electrical panel. This protects you from electric shock. Never assume the power is off—always double-check.
Wear insulated protective gear: Use insulated gloves, safety gear, and Closed-toe shoes. They protect you against accidental shock and sharp edges. Also, safety gear is your best friend when working with electricity.
Work in a dry area: Water and electricity are a dangerous combination. Make sure your floor and hands are completely dry before working.
What tools do you need?
Have these ready before you open the panel:
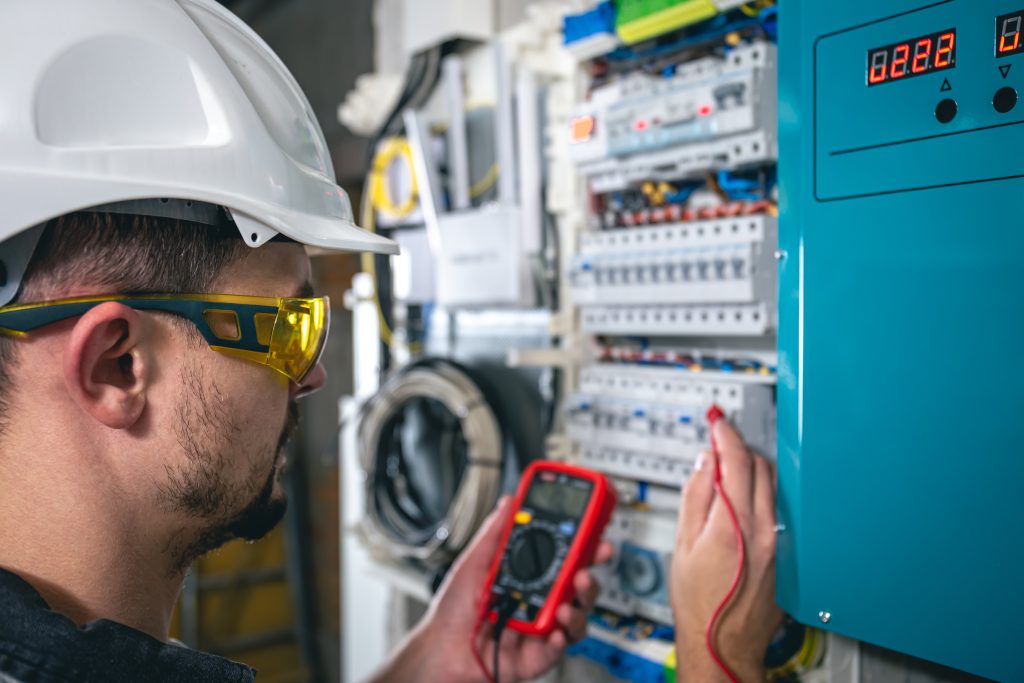
Digital multimeter: This device measures resistance or continuity to tell if your breaker is working properly.
Voltage tester or continuity tester: This will tell you if electricity is flowing through your breaker.
Screwdriver: You’ll use it to open the panel cover or tighten loose screws.
Insulated gloves: They protect your hands from electrical shock.
Flashlight: With good lighting, you can see the wires and connections clearly.
A multimeter is the key tool. It tells you whether the breaker is allowing current to pass properly.
How to Test a Circuit Breaker With Power
⚠️Warning
Live electrical testing can be dangerous. If you are unsure or uncomfortable, stop and call a licensed electrician.
Testing a breaker with power verifies whether it is actually delivering voltage to the circuit. Follow these steps exactly—slowly and carefully.
Step 1: Make sure the breaker is ON
Switch the breaker you’re testing to the ON position.
If it trips instantly → the breaker or the circuit has a fault.
If it stays on → continue to testing.
This tells you whether the mechanical part is working.
Step 2: Set your multimeter to AC voltage
Homes use AC power, not DC. Select:
120V circuits → set to 200V AC
240V circuits → set to a range above 250V AC
Avoid “auto” mode if you’re unsure — manual ranges give more stable readings.
Step 3: Ground the black probe
Place the black probe on a neutral or grounding point:
Neutral bus bar
Grounding screw
Ground bar in the panel
This gives you a safe reference point.
Step 4: Touch the red probe to the breaker terminal
Touch the red probe to the screw terminal of the breaker.
Do not touch bare metal with your other hand.
Keep your fingers behind the insulated probe guards.
Hold steady and read the voltage.
Step 5: Interpret the reading
The reading tells you if the breaker is functioning.
🟢 Normal operation
110–120V → single-pole breaker is delivering proper voltage
220–240V → double-pole breaker is delivering proper voltage
🔴 Faulty or failing breaker
0V while ON → internal failure or broken contact
Low or fluctuating voltage (e.g., 30–90V) → loose terminal, corrosion, or partial internal failure
Fluctuating voltage is as dangerous as zero voltage—replace the breaker or call a professional.
Step 6: Power down safely
Once testing is complete:
Turn the breaker OFF.
Remove the probes carefully.
Close the panel cover securely.
Do not leave wires exposed or tools inside the panel.
When Not to Continue
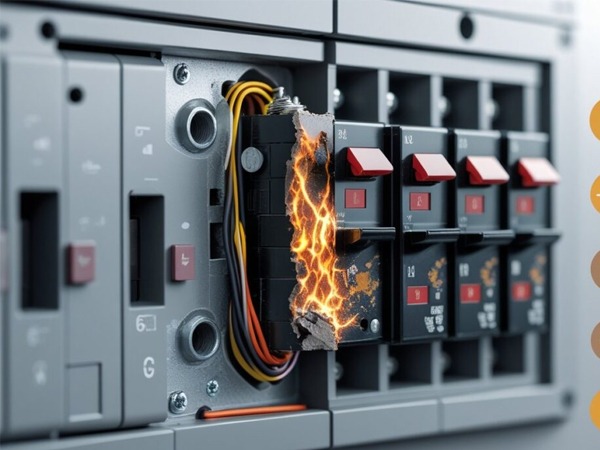
Stop immediately if you notice the burning smell, melted plastic or scorch marks, visible arcing or sparks, and loud buzzing or humming. These are signs of active electrical damage and require immediate replacement or professional servicing.
How to Test a Circuit Breaker Without Power
This method tests whether the breaker’s internal contacts are intact—without exposing yourself to live voltage.
Step 1: Turn off all power
Switch OFF the main breaker to cut power to the entire panel.
Never assume a breaker is dead—verify it.
Check that lights or appliances on the circuit are completely off.
Tip: Turn off individual devices before shutting down the panel to avoid sudden surge damage when turning power back on.
Step 2: Remove the panel cover carefully
Use a screwdriver to open the electrical panel.
Work slowly—panel edges can be sharp.
Keep all screws in a small container or magnetic tray.
You should now see each breaker and its terminals.
Step 3: Identify the breaker terminals
Each breaker has two points you are testing:
Line terminal → power coming from the supply
Load terminal → power leaving toward your home circuit
If unsure, trace the wire from the breaker:
The thicker/top wire is usually the line.
The thinner/bottom wire is usually the load.
Tip: Do not disconnect wires unless you’re licensed. Loose wires = arc risk when you restore power.
Step 4: Set your multimeter
Use either:
Continuity mode (speaker/diode symbol)
Resistance mode (Ω symbol)
Continuity:
The multimeter beeps if the internal contacts are intact.
Resistance:
A healthy breaker shows a very low resistance reading (close to 0 Ω).
Step 5: Test the breaker
Place one probe on the line terminal and the other on the load terminal. Do not touch the metal tip with your hands.
Low or zero resistance/beep: The breaker is working properly.
No continuity / infinite resistance: The breaker is faulty and needs to be replaced.
You examine for physical symptoms. For example, a burning smell, black marks, or frequent trips. So these are signs that the breaker is unsafe.
Step 6: Read the results
🟢 Good breaker:
A beep (continuity mode)
Near zero resistance (0–0.5 Ω)
The contacts are intact and electricity can flow normally when powered.
🔴 Faulty breaker:
No beep
Infinite or very high resistance (OL or >1 MΩ)
This means the breaker will not allow current to flow and must be replaced.
Step 7: Reinstall the panel cover
When you remove the probes, reattach the panel cover securely, turn the main breaker back ON, and test the circuit (light, outlet, appliance), the test is finished. And make sure everything powers on normally.
What Not to Do
Pull wires out of terminal screws
Test breakers with wet hands
Skip gloves or eye protection
Touch two terminals at once
Guess which breaker is which
Improper handling is the fastest way to cause a short or burn yourself.
When the Test Isn’t Enough
A breaker can fail mechanically (won’t reset) even if continuity tests look OK. Replace the breaker or call an electrician if you notice:
If you notice any of these symptoms, test your breaker immediately:
❗Breaker won’t reset: If you try to turn it back on and it trips immediately, the internal mechanism may be worn or damaged.
❗Burning smell or black marks: These are dangerous signs of overheating. So this can cause a fire, you don’t ignore it.
❗Frequent trips without heavy load: If your breaker is tripping repeatedly when there is no heavy load, it is weak or internally damaged.
❗No continuity when tested: When you test with a multimeter, it should show continuity. If it doesn’t, you need to replace a breaker.
❗Unusual noises: If your breaker makes a buzzing, humming, or clicking sound, this is not normal. This indicates that the breaker is not working properly and could fail soon.
When to Replace a Circuit Breaker
Replace a breaker if:
It fails continuity tests
It trips repeatedly with normal usage
It shows heat damage or corrosion
It makes unusual noises
It is more than 15–20 years old
Breakers are inexpensive compared to the cost of electrical damage and fire risk.
Conclusion
Testing a circuit breaker protects your home and the people in it. With a digital multimeter and proper safety steps, you can easily check whether your breaker is working correctly. If you notice repeated tripping, odd noises, or burn marks, don’t wait—replace the breaker or consult a professional.
Yes. A digital multimeter provides the most accurate reading of continuity or resistance. A simple voltage tester can show whether electricity is flowing, but not the breaker’s condition.
Why does my breaker keep tripping?
Common causes include: • Overloaded circuits • Faulty appliance • Short circuit • Ground fault • Weak or aging breaker If it trips repeatedly, test it or call an electrician.
How often should I test a circuit breaker?
Homeowners should test breakers every 6–12 months. Commercial or industrial systems should be checked more frequently.
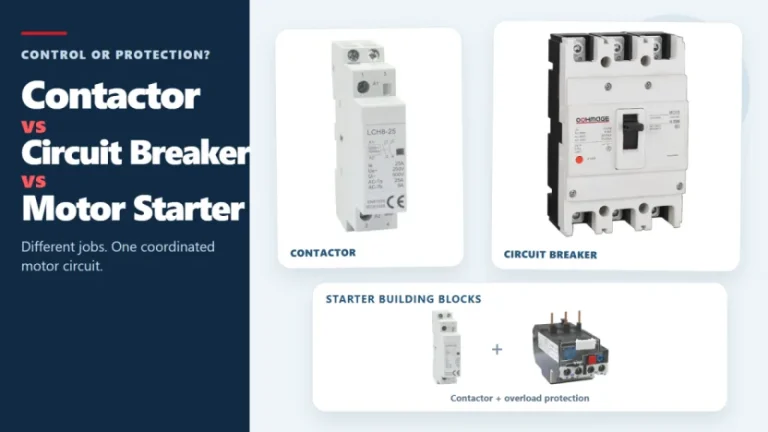
Figure 1. Contactors, circuit breakers, and motor starters solve different control and protection tasks. These three devices often appear in the same motor-control panel, but they solve different problems. A contactor handles frequent, remote, or automatic switching during normal operation. A circuit breaker interrupts abnormal current within its rated capability. A motor starter normally combines […]
A single-line diagram can look simple and still be difficult to read. One line may represent a multiphase circuit, a small symbol may stand for a major protective device, and a short label may carry the information that determines what equipment belongs downstream. The most reliable way to read a single-line diagram is to follow […]
Figure 1. Three-phase SPD selection starts with system facts, not the largest kA number. A three-phase surge protector should not be selected by the largest kA number on its label. First confirm the system voltage, whether a neutral is present, the earthing arrangement, the installation point, and the required SPD type. Then compare Uc, Up, […]